Deploy Your First AI Agent in 5 Minutes
This tutorial walks you through creating and deploying your first AI agent on Hatcher using OpenClaw — the fastest path from zero to a live, talking AI agent.
What you’ll build: A conversational AI agent accessible via chat on your Hatcher dashboard, ready to answer questions, help with tasks, and more.
Time required: ~5 minutes
Prerequisites: A free Hatcher account (sign up here )
Sign in to your dashboard
Go to hatcher.host and sign in. You’ll land on your main dashboard showing your agents.
If this is your first time, the dashboard will be empty — that’s expected. Every account includes one free agent to get started.
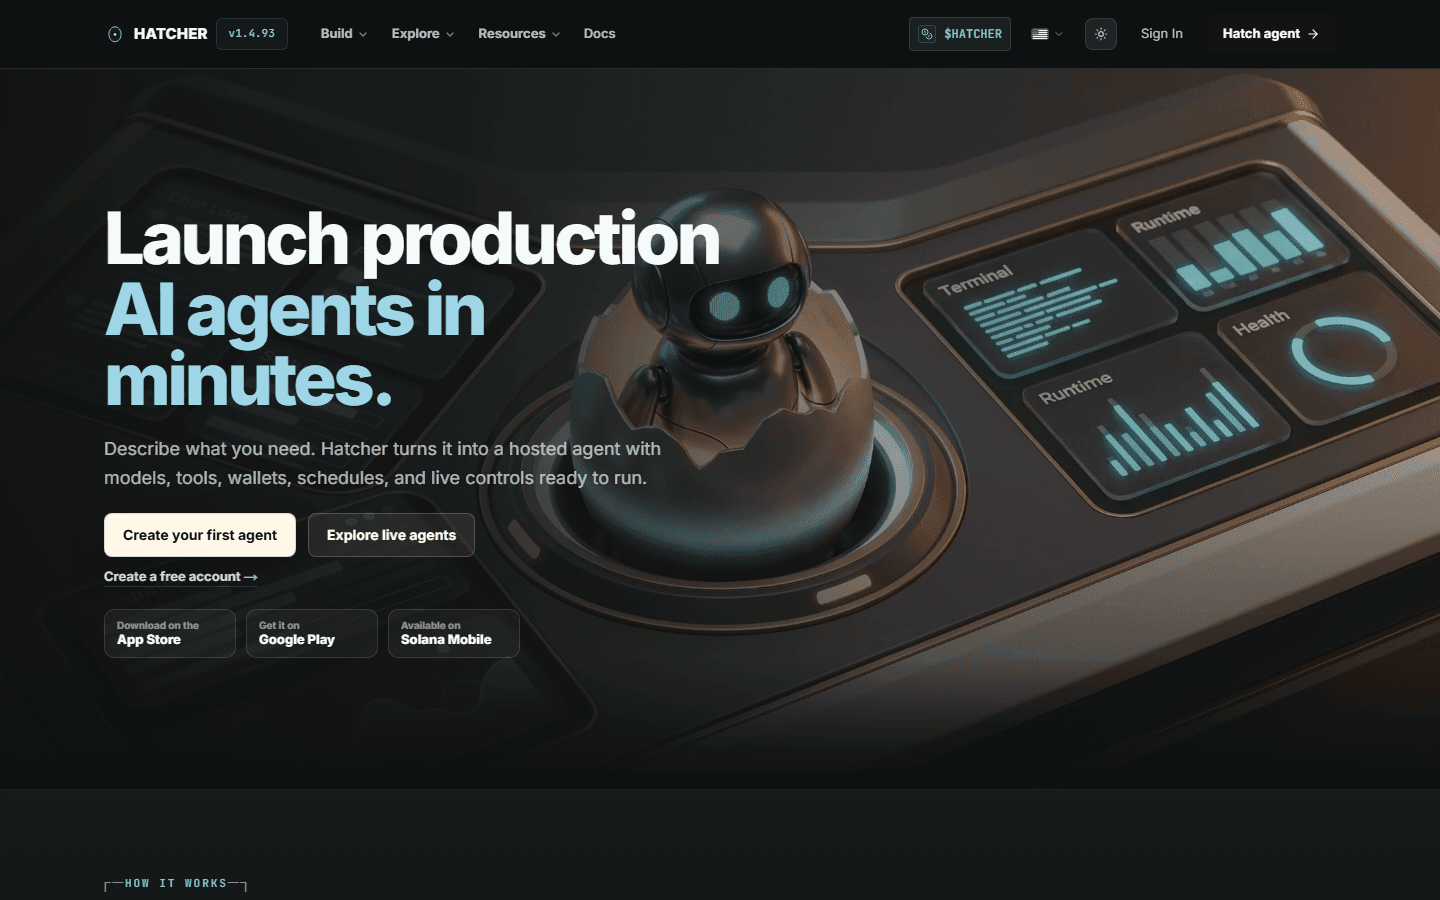
Create a new agent
Open Build → Hatch agent from the main navigation.
Chat-to-Hatch asks what you want to build and drafts a configuration:
- Describe the goal — for example: “Build a research assistant that summarizes crypto market news.”
- Framework — Review the suggested framework, or select OpenClaw
- Name — Give your agent a name (e.g. “My First Agent”)
- Personality — Optionally describe how you want your agent to behave (e.g. “Be concise and direct. Focus on facts.”)
Configure your LLM
By default, your agent uses a hosted UsePod/OpenRouter model route and spends AI Credits based on provider cost.
Free tier: 500 AI Credits/month for hosted UsePod/OpenRouter models and web search. Want provider-paid usage? Set up BYOK — it’s always free.
If you have your own API key, click BYOK and add it now. Supported providers: OpenAI, Anthropic, Google, Groq, xAI, and OpenRouter.
Launch your agent
Click Launch Agent.
Hatcher will:
- Generate the OpenClaw configuration from your settings
- Build and start a Docker container for your agent
- Connect it to the Hatcher LLM proxy
This takes about 10–30 seconds. You’ll see the status indicator turn green when your agent is live.
Chat with your agent
Once the agent shows Running, open its control room and select Chat.
Type a message and hit send. Your agent will respond using the LLM you configured.
Try asking:
- “What can you help me with?”
- “Summarize the latest news about AI”
- “Write a short bio for a marketing consultant”
Your agent is live and responding.
What Just Happened?
Behind the scenes, Hatcher:
- Created a
openclaw.jsonconfig from your UI settings - Launched a Docker container running OpenClaw
- Connected the container to the LLM proxy (so your API keys stay secret)
- Gave your agent a persistent workspace for memory and files
The agent runs in an isolated container with:
- 1 CPU, 1 GB RAM (free tier)
- 2 GB workspace for memory and files
- Auto-sleep after 12 hours of inactivity (wakes automatically when you chat)
Next Steps
Now that your agent is running, here’s what to explore:
Connect to Telegram or Discord Your agent can respond to messages on external platforms — no polling or webhooks to set up yourself. → Telegram integration guide → Discord integration guide
Upgrade your LLM Use a more powerful model like GPT-4o or Claude with BYOK. → BYOK guide
Explore OpenClaw features Web search, file management, scheduled tasks, ClawHub skills, and more. → OpenClaw framework guide
Upgrade your plan More agents, larger AI Credit grants, larger workspaces, and higher container resources. → Plans & Pricing
Tip: If your agent auto-sleeps and stops responding, just send it a message — it wakes up automatically within a few seconds.